Managing FIDO2 Keys using Windows Control Panel
Last updated 2026-07-18
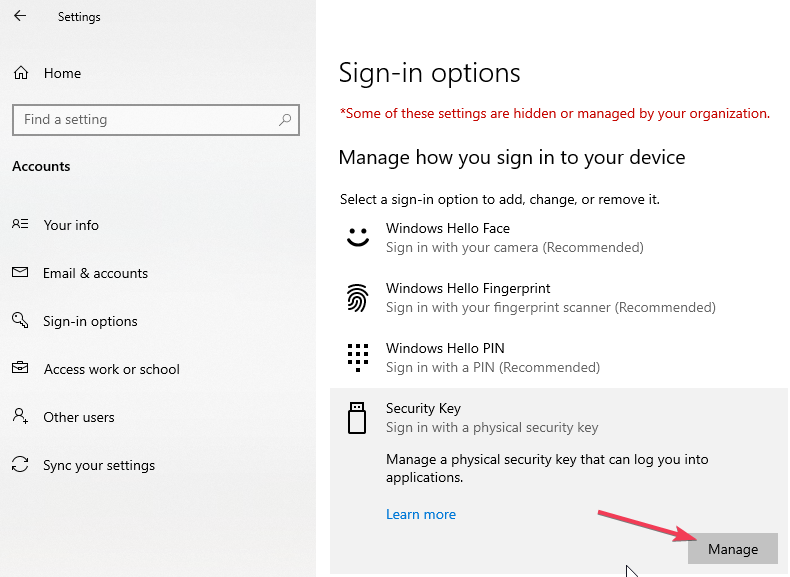
To get started, go to "Settings" → "Accounts" → "Sign-in options" → "Security Key" and click "Manage".
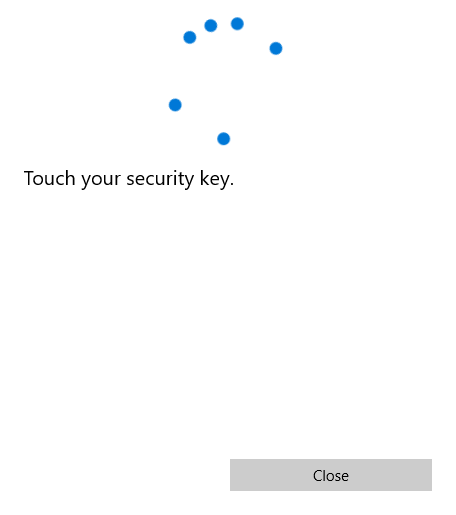
Next, insert your key and follow the on-screen prompts to touch it in a timely manner.
If you haven't already, you'll need to set up a PIN before registering a fingerprint. To do so, click "Add" and enter a 4-63 character PIN.
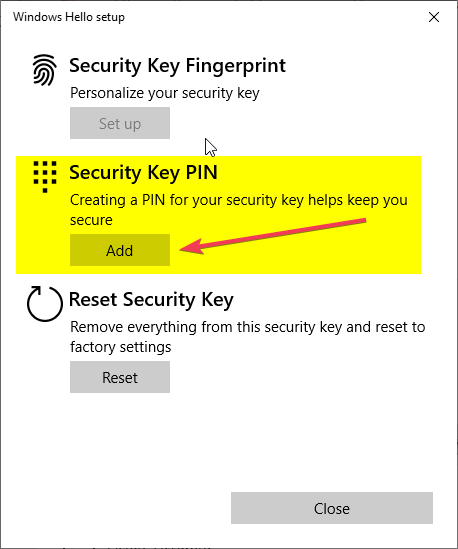
You can change your PIN later by clicking "Change" on the same window. Important: you have to know the existing PIN to be able to set a new PIN without losing the data on the device.
Fingerprints
If your FIDO2 key features a fingerprint reader, an additional option for setting up fingerprints will appear on the "Manage" window.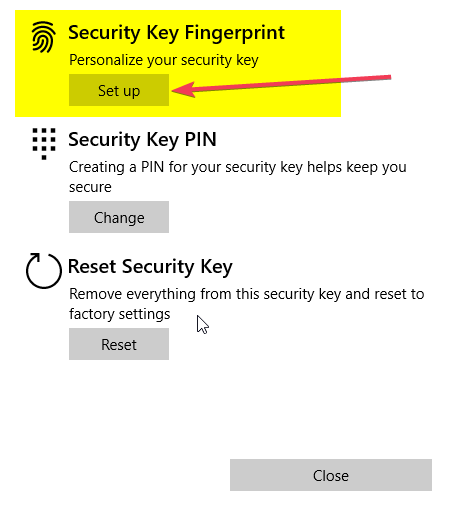
To register a fingerprint, click "Set up" and enter your PIN. Follow the prompts to touch your key multiple times with one finger, until "All set.." message is displayed.
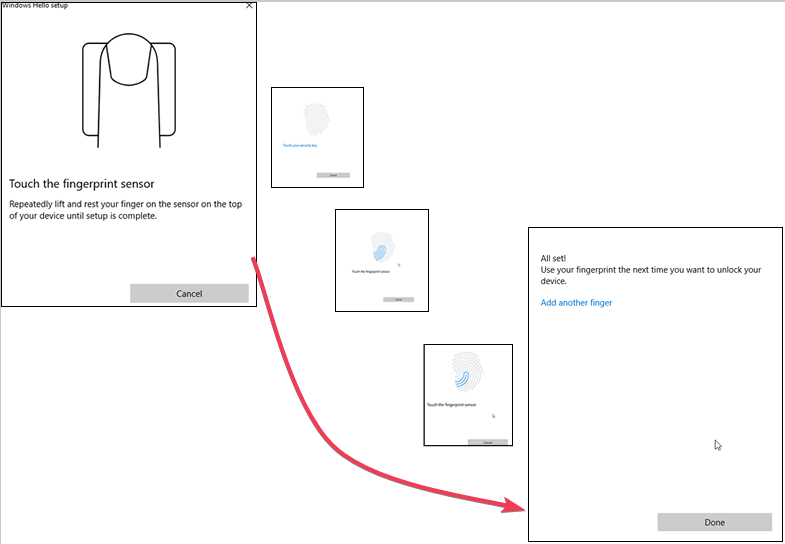
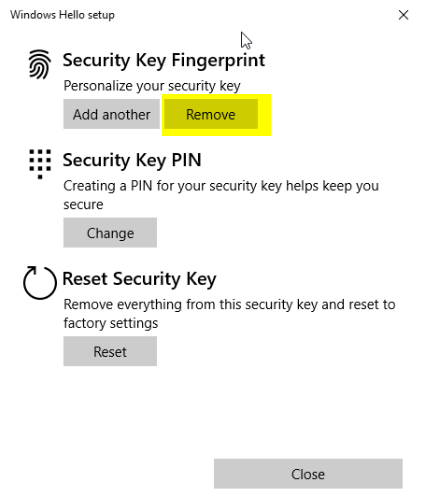
You can add more than one finger if needed (our T2F2-Bio2 and T2F2-Bio devices support up to 25 different fingerprints stored).
To remove fingerprints, click "Remove" and enter your PIN.
Reset
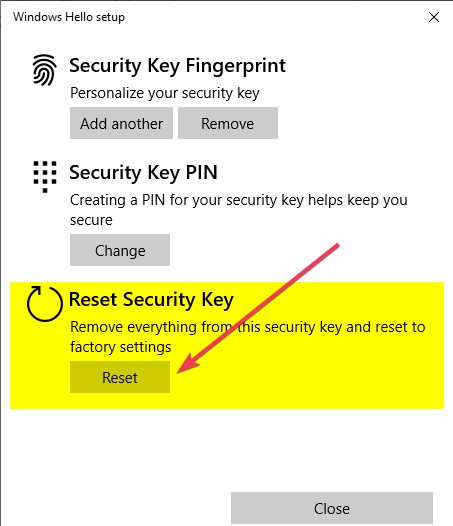
If you need to reset the device's FIDO configuration, click "Reset". This will erase all PINs and fingerprints on the device, but can only be done within the first 10 seconds after inserting the key.
Passkey/Resident Key Management
As of the time of writing (February 2024), the Windows control panel does not provide a dedicated interface for managing stored passkeys (also known as resident keys). You can efficiently manage them using one of the following methods:
- Our FIDO2.1 Manager app
- Our command-line utility
- Chromium-based management methods
Choose the option that best suits your preferences to address your passkey/resident key management needs.